
Donncha Hughes
Latest posts by Donncha Hughes (see all)
- Adding Facebook Page Feed and your Twitter Timeline to your WordPress blog (updated 2020) - December 4, 2020
- Working with Images for your Website - April 14, 2020
- How to get an email address to match your website URL? - March 31, 2020
This is the second of a two part blogpost that addresses how to ‘work with images for your Website’. The first blogpost talked about sourcing the images and manipulating them in terms of size and adding text as part of the messaging. This second part assumes that you have lots of images that you now want to add to various posts and pages within your website and will discuss:
- how to insert Media into a WordPress page or post;
- What is a Featured Image?
- Adding a Gallery of Images using the Block Editor
I have written two separate related blogposts: on adding Smart Slider 3 to your website; and adding a Gallery to your website using Elementor.
#.1 How to insert Media into a WordPress page or post
Adding media such as an image or photo to your WordPress site is fairly easy.
1. Using the block editor in a page or post, click the Add new block and use the Search function to find the IMAGE block in the MEDIA category.
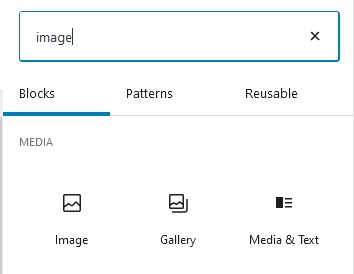
This search also gives option to use the Media & Text block which presents an image in one column along with text. Select your Block.
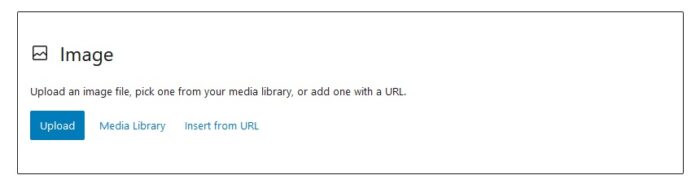
2. The pop up will allow you to upload an image or select one from the Media Library. If there are a lot of images, i will sometime upload them all to the Media library in advance.
3. Once uploaded the image can be configured. I will generally align Centre and link to Media so that the lightbox effect will work – if you click on an image in this post it will pop out and then you can scroll through all images in slideshow format. For this to work images must be linked to their Media File. I use the plugin Lightbox plus Colorbox by Dan Zappone on this site and I also recommend the plugin Simple Lightbox by Archetyped.
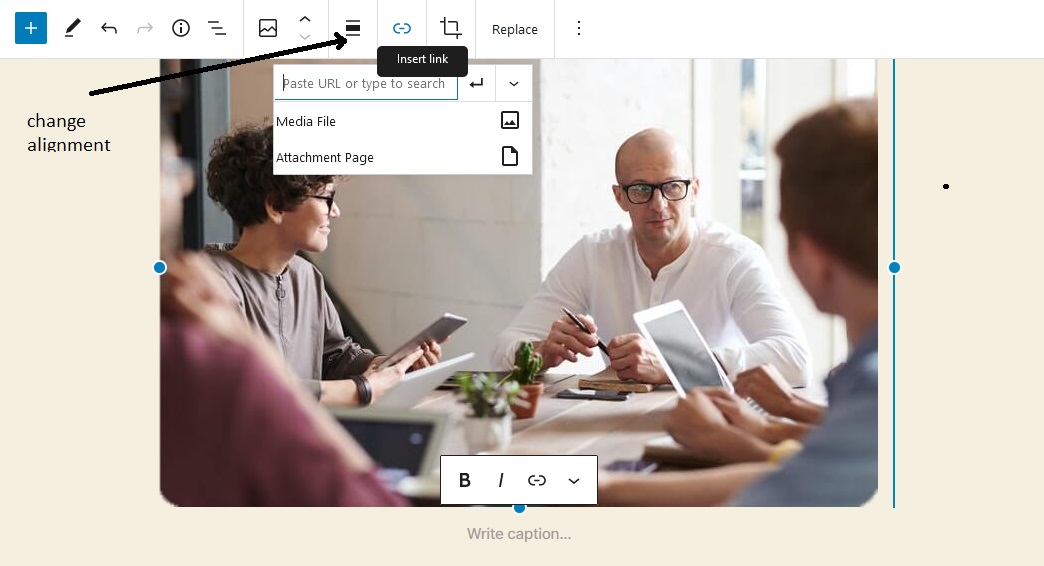
To configure make sure to select the full block to activate the Top Toolbar. Hover over each icon to see what they will do.
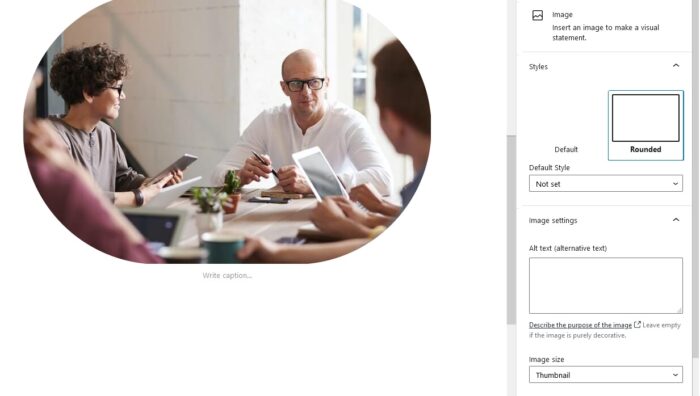
4. Clicking on the Page setting will allow access to Post and Block tab Settings. The block settings for images configure style and size.
To delete an image from a post, simply delete or Remove the Block. Please note that this does not delete the image from the Media Library – you can of course display the same image on several pages or posts on your website.
The Cover Block
With the Cover block in WordPress, you can add text and color overlay to a photo or image. The idea is to make the text and image more visually appealing. The text counts for SEO – if you edited the image and added text to the actual image the output might appear the same but Google would not be able to read the words. It would also be more difficult to update the image.

If you use page builder blocks like Gutentor (highly recommended) you will get more options for images.
Patterns
WordPress block patterns are ready-to-insert, predefined block layouts. Many block patterns will feature images to allow customisation of more complex layouts. The template images can then be replaced. The next block is the original Quote Pattern under Text in the drop-down pattern selector.
“Do you see over yonder, friend Sancho, thirty or forty hulking giants? I intend to do battle with them and slay them.”
— Don Quixote
I want to update the Quote block to include a quote from American marketing author Seth Godin.

“In a crowded marketplace, fitting in is a failure. In busy marketplace, not standing out is the same as being invisible.”
— Seth Godin, Author
Activate the Page Settings to access settings within this Block to change the content of the quote, the image, the colour of the text and the background colour. Patterns speed up the process immensely and are also a good source of presentation ideas.
The Classic Editor
The Classic Editor now replicates the old way of inserting media in WordPress. Here is the original text (circa 2012) for this post. In the page that you want to insert the image, navigate to the section of the Visual Editor where the image will be presented and select the button ‘ADD MEDIA’

A pop up box will appear allowing you to pick from images already in the library or to upload images directly from your computer. Follow the instructions. Please note that multiple files can be uploaded at a time and you can decide if you want the image inserted full size or as a thumbnail (150 pixels wide by 150 pixels tall).
For SEO purposes, all images should be properly labelled with descriptions and ALT Tags.
After each image has been inserted, you can write additional text above or below the image. The images can also be aligned to centre, left or right using the Visual Editor menu.
To delete an image from a page or post, select the image with your mouse and press delete. The image is retained within the Media Library for further use. An image can of course be completely deleted from within the Media library – may be needed when an image needs to be replaced.
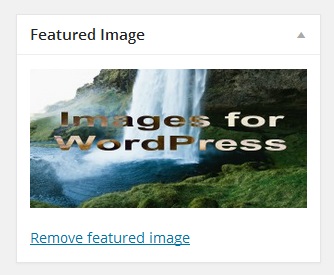
#.2 What is a featured image?
The featured images has two functions. Firstly when an image is set as the featured image in a blogpost, it is then displayed on the BLOG page of the website along with the title of the post and probably an excerpt or short summary. Depending on the theme and setup, the image might also be displayed as the top header of the article.
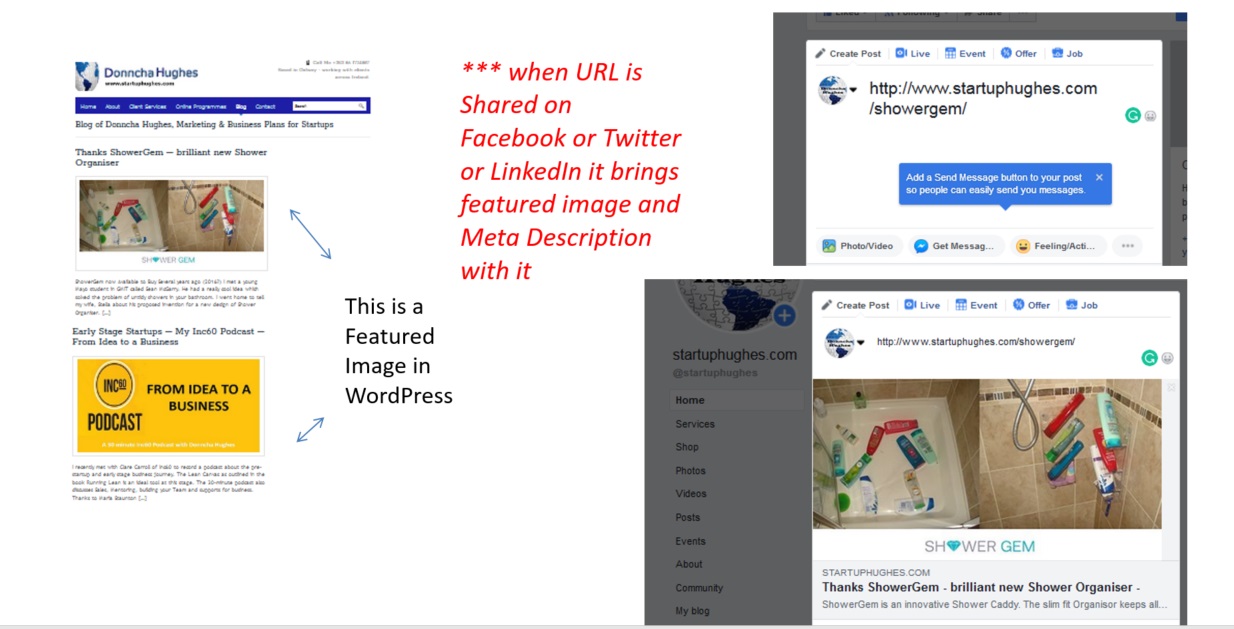
Secondly, when an image is assigned as a featured image to a blog post or page, then when the page or post is shared on social media particularly LinkedIn and Facebook, the featured image is pulled in with the URL meta descriptions and displayed within the social network. This is a time-saving feature allowing a consistent image to be used by everyone who shares the link across the social networks.
How to add a Featured Image?
The featured image is a POST setting in WordPress. Click on the Page Settings Icon and the Post Tab.
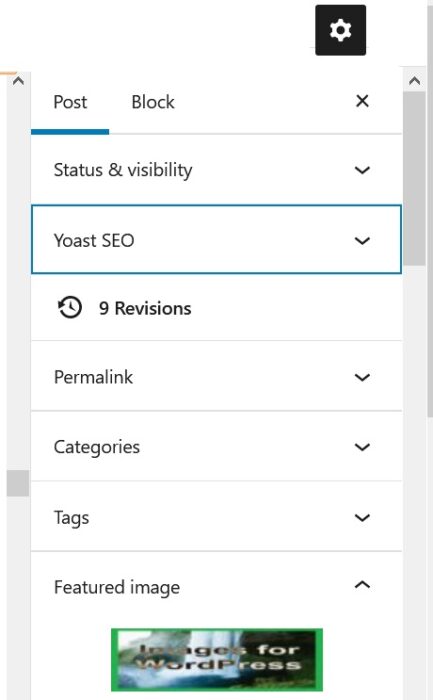
As mentioned above, depending on the theme, the Featured Image is used for specific purposes. With this theme, the featured image is used on the BLOG page to grab your attention and get you to click on the title to read more. The featured image is not displayed as such on this page. It is very easy to replace the featured image by either uploading a new image or selecting one from the media library.
Plugin Special Mention – Lightbox Plus Colourbox
This is a cool plugin that allows images when clicked to pop up in larger display. Information such as the Image title is also displayed.
#.3 How to add a gallery of images to a page or post?
Recent versions of WordPress have hugely enhanced the ‘Gallery feature’ within the Media Library. A gallery of images can now be put onto any page. Several galleries of images can be put on one page – you may want to group images by month or event. I have created a gallery with 5 images from my media library and added a caption.

Blog 1 
Blog 2 

Here are the instructions (updated for Block Editor):
a. I would generally suggest adding all the images to the Media Library first.
b. Open the page or page where you want to insert the Gallery. Add a new block – search for the Gallery block.

If you use page builder blocks like Gutentor (highly recommended) you will get more options for Gallery blocks.
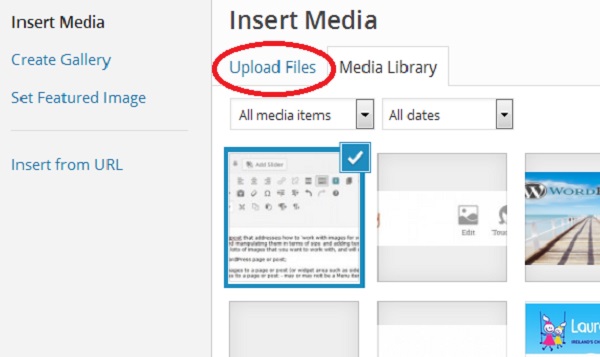
c. Select upload or Media Library.
d. Click on to select each of the images that you want to include in your gallery of images. Select CREATE A NEW GALLERY (blue button in image above) to reveal another screen where you can configure the layout of the gallery. You can still add more images at this stage by clicking the Add to Gallery blue link. If you hold shift key you can select all images within a range simultaneously.
e. INSERT the gallery. The configuration of the gallery is edited via the PAGE settings in the BlOCK TAB. The number of columns can be selected.
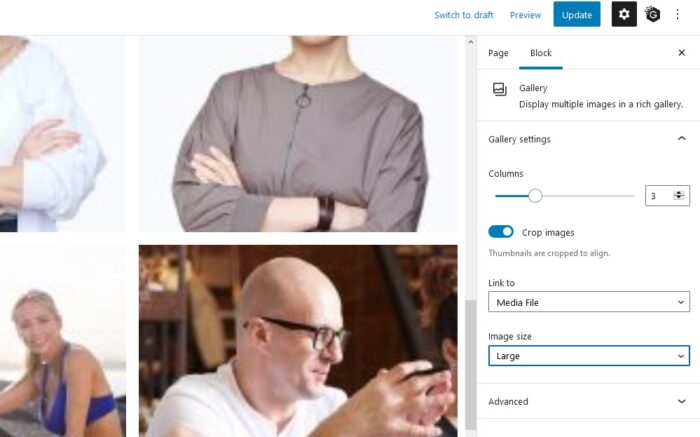
The settings allow changing of the image size, auto cropping of the images so that they are a uniform size, and link to Media File so that the Lightbox functionality works (if the plugin is installed as per description above). You could also link each image to a custom link like a blog post.
Captions can be added for each picture and any individual picture can be removed from this screen. To add images to the gallery click on UPLOAD or Media Library at the bottom of the block.
Finally, Galleries can easily be removed by deleting the block.
As always I hope you found this blogpost of use. Comments and shares on social media welcome.
regards
donncha (@donnchadhh)
What is WordPress – 2021 Video by Donncha Hughes